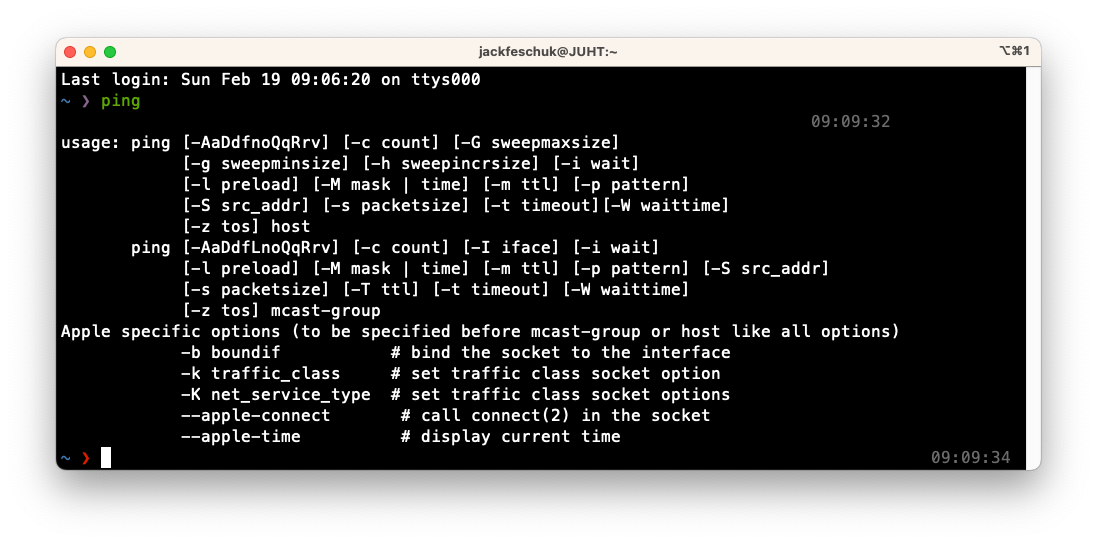
ping‘s basic use is to determine the time it takes to send a packet to the destination and receive a response, the lower the time in milliseconds (ms) the better.
The ping tool is the most commonly known network tool. I first used it decades ago as a child to test if websites were actually up or if my dial-up internet was just awful. Here are a few ways to use the tool in real world examples.
For these examples I will be using the IP address 1.1.1.2 and hostname security.cloudflare-dns.com – Both of these are DNS servers run by Cloudflare. You can find more information and how to set it up here.
Example #1 – Change the time between each ping
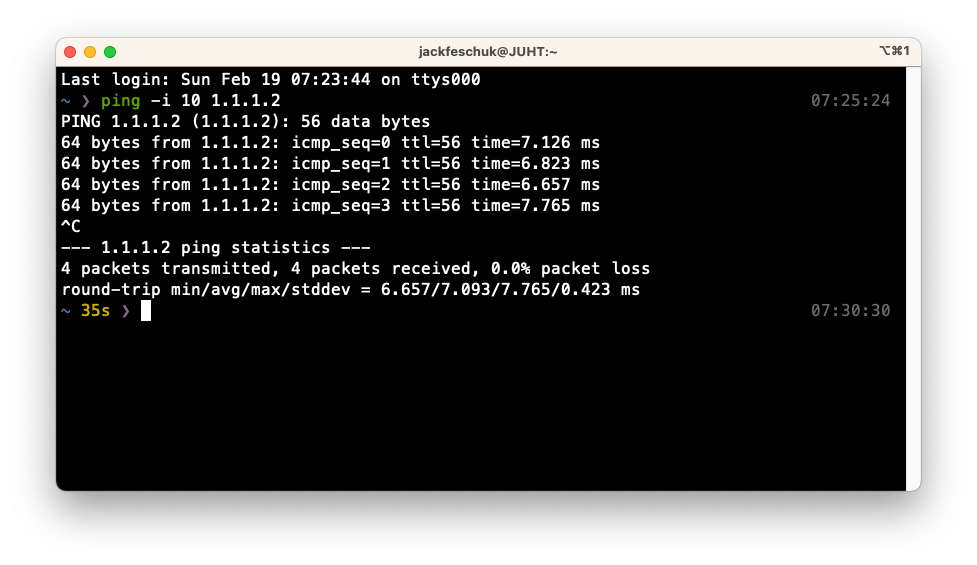
ping -i 10 1.1.1.2ping is great to test an unstable internet connection, but by default, ping will send another after just 1 second. I like setting to 10 in this example. The “-i” stands for interval.
EXAMPLE #2 – SEND A CERTAIN NUMBER OF PINGS
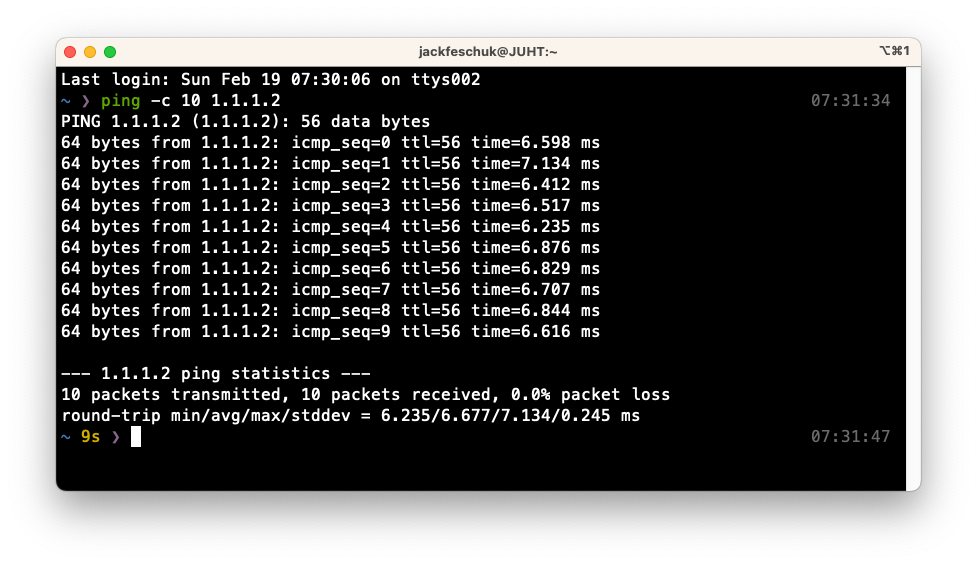
ping -c 100 1.1.1.2You can set the number of pings to be sent and the utility will quit after and print the results. Very useful for obtaining a good average latency out of 10 or 100 packets as well as establishing a good average percentage of packet loss. The “-c” stands for count.
EXAMPLE #3 – OBTAIN THE IP ADDRESS OF A HOSTNAME/DOMAIN NAME
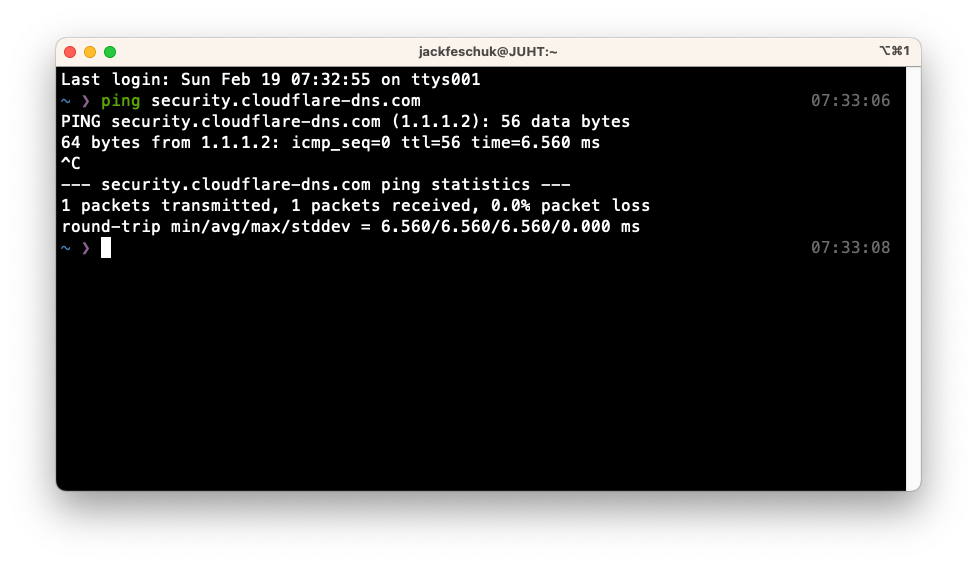
ping security.cloudflare-dns.comThis has to be the most popular use-case for ping that I remember from my childhood. We would use this simple tool to find an IP address for a hostname/domain name and use that to gather more information about the service.
EXAMPLE #4 – COMBINE THE OPTIONS
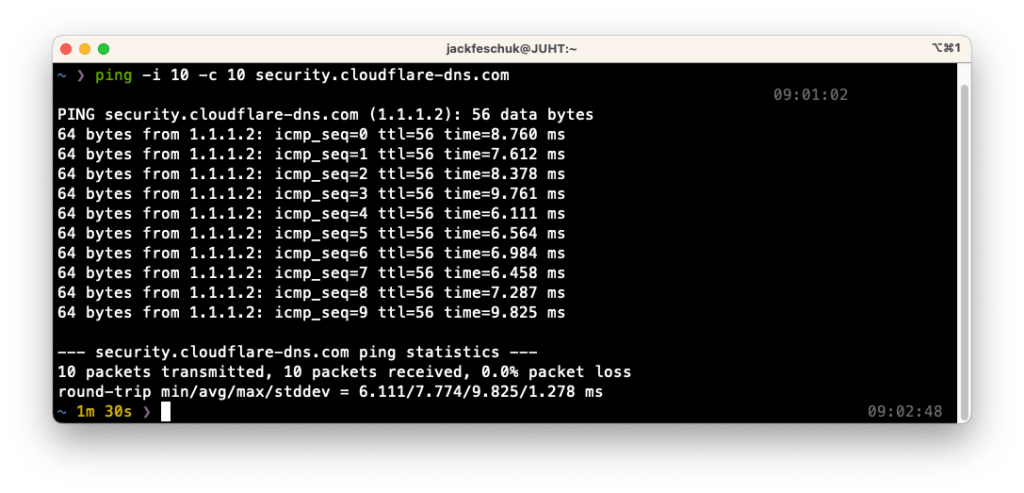
ping -i 10 -c 10 security.cloudflare-dns.comI use this to easily test the latency of a DNS, proxy, VPN or any other server. I will ping it ten times with a 10 second interval and then I just read the average time and I compare it to another. For very poorly performing servers I will take a sample of 100 pings with 60 seconds in between each and I leave it running to see if the performance issues are related to the time of day or some specific operations on the machine.
